Acrylic landscape paintings are one of the best acrylic projects for beginners because of the variety of acrylic techniques and stylistic preferences it offers.
Thanks to Jose for helping piece together this step-by-step tutorial for us. He’s a great resource in the world of acrylic, you can support him here.
Easy Acrylic Painting Landscapes Tutorial
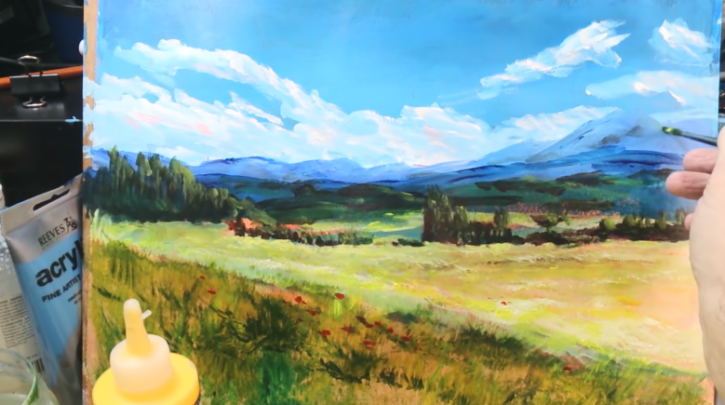
Here is a beginner landscape that can easily be followed using the instructions and visuals below. Make sure you help out our guy Jose if you find this article helpful! He’s a great artist.
Acrylic supplies you need:
- Amsterdam Acrylic Paint Set: https://amzn.to/2F9K8Ga
- Gesso: https://amzn.to/2ZG2UP0
- Disposable palettes: https://amzn.to/2rMDO4l
- Brushes: Flat brushes nº 24, 14, and 4; Filbert nª12, Round nº3, Fan Brush. https://amzn.to/2SKZBEM
- Acrylic paper: https://amzn.to/2ZNJaZF
- Painters Tape: https://amzn.to/2Fjb8Tz
- Water
- Absorbent Paper
Let’s get started. . .

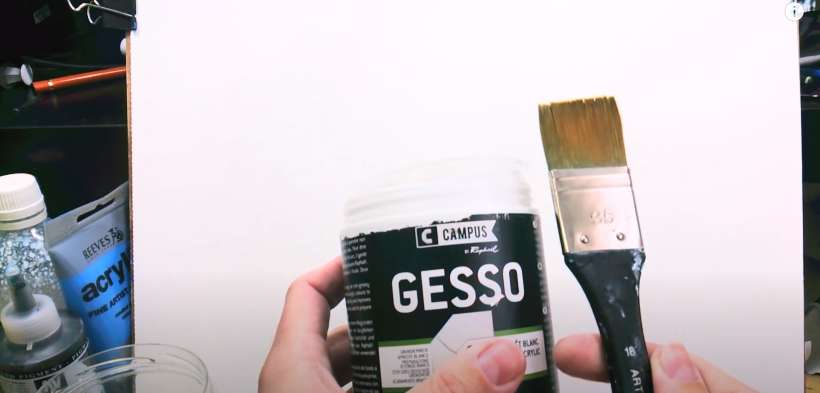
Step 1: Apply a Coat of Gesso to the Paper
First, apply a light coat of gesso to your paper and let it completely dry. Gesso is a white paint mixture used in artwork as a preparation for any number of substrates such as wood panels, canvas, and sculptures as a base for paint.
Most acrylic artists will find that the use of Gesso is necessary in their work.
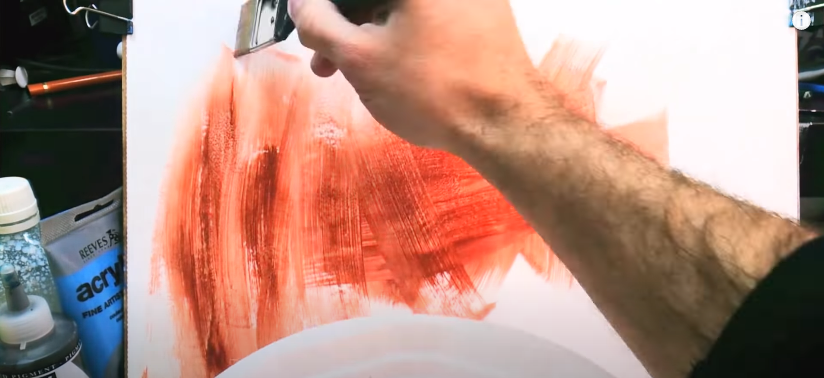
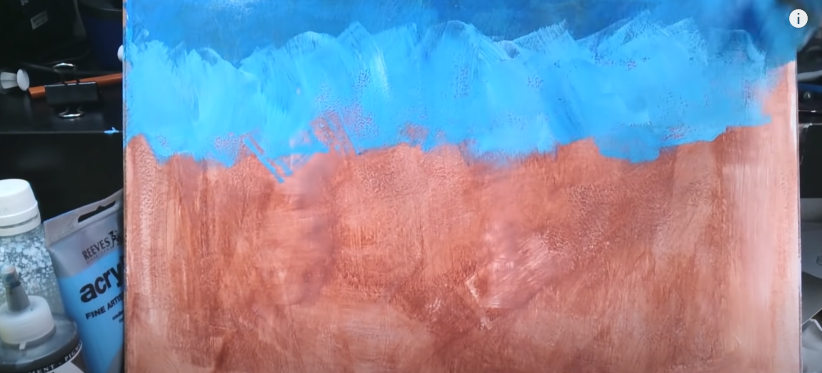
Step 2: Add Burnt Sienna
Now, mixing a lot of water with your Sienna on a palette, add a wet coat to the paper. Obviously, if you don’t have Sienna, you can probably find a like color. Color isn’t as important as technique when you follow these tutorials. The purpose is to learn so you can apply what we give you to your own paintings in the future.
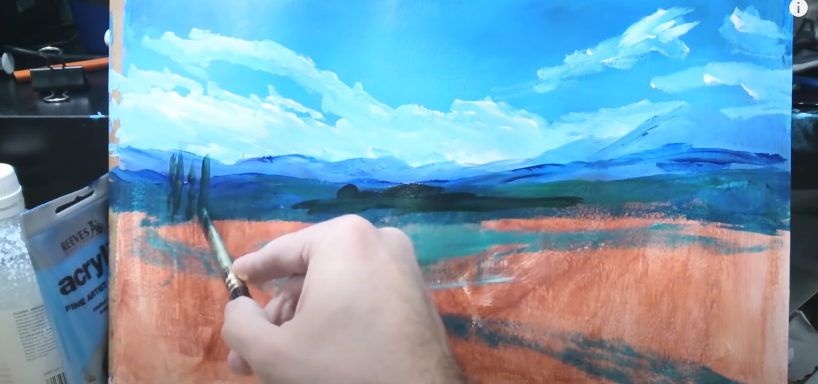
Step 3: Start with the Background
In this piece, Jose uses a few shades of blue on the background (always work from the background to the foreground and dark to light in acrylic.) As we have the whole background painted, you’ll see we’ll mostly paint over it, but you’ll always want to give yourself a lot of working room when moving from the back.
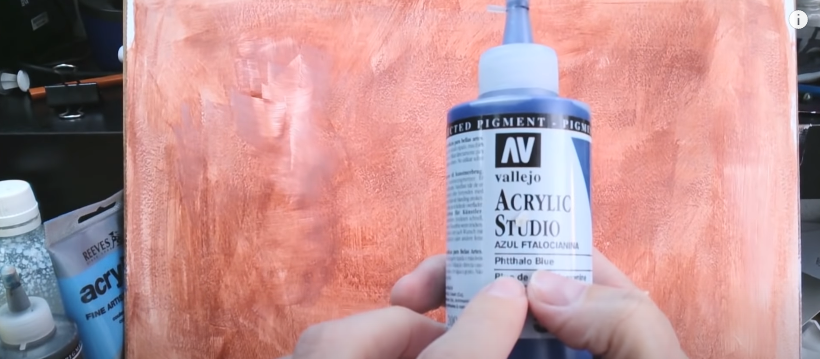
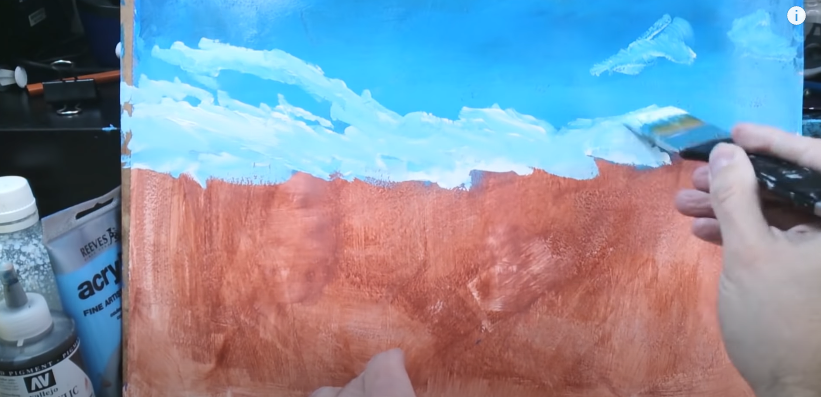
Adding a touch of white to the mixing here goes a long way.
Remember, acrylic paint dries very quickly so try to keep your palette coved in minimal amounts of paint (lightly-coated layers) in order to prevent waste. This will be a challenge if you’re just getting started. It’s not like watercolor which can be re-activated by water. Always keep the bottle handy.
These layers are best blended with horizontal brush strokes. Initially, use very little white. We will add more as we go to lighten the tone if we need:
Now, clean your brush with water and paper and with your ultramarine blue, begin to paint the far-reaching mountains.
To paint the far distant objects like clouds and mountains, you’ll always be better suited using a flat, large brush to avoid getting too detail-oriented in objects you otherwise wouldn’t be able to recognize detail in.
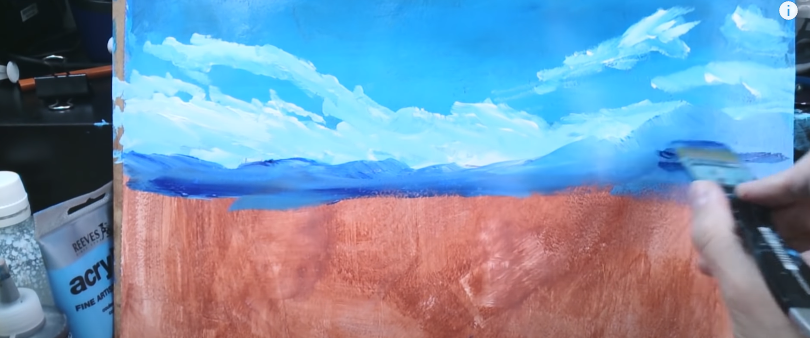
Then, as you move onto the nearer mountains, the shade you use should be darkened.
Mixing a shade of yellow in with the Phtalo blue will give you a nice, cold green which would be perfect here.
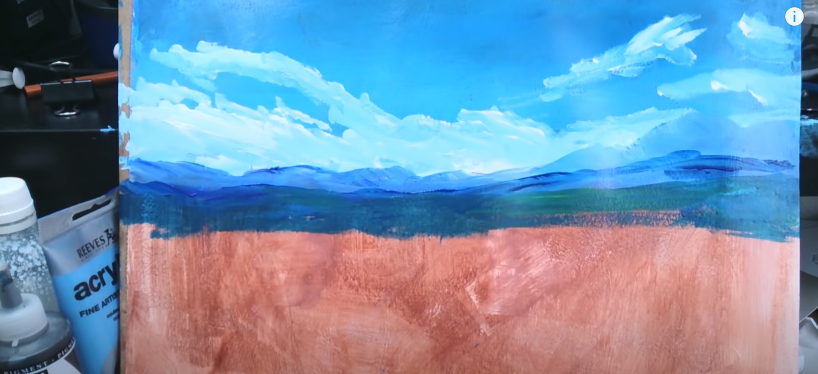
Notice, Jose hasn’t changed brushes up until this point, but now will switch to a Filbert brush to begin adding an assortment of other colors and details.
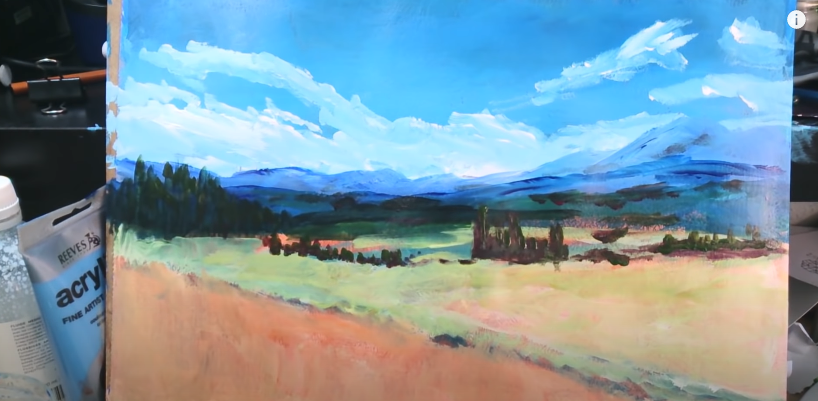
Step 4: Begin with nearing Greenery
Jose will mix to get an even darker shade of blue-green and begin to work on the trees. To do this, he turns his brush and paints on its side for a thinner, more fine look.
Then, when he moves onto the foreground, the bushes, he reverts back to a flat brush head approach and almost just press the bristles to the paper. Sort of as you would a sponge.
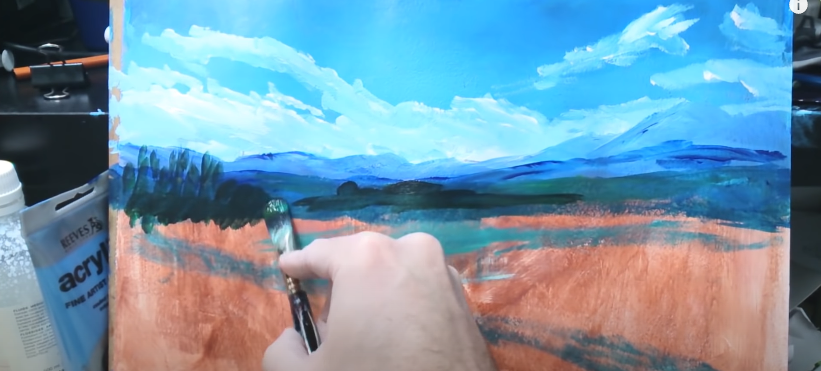
The type of brush you use and brushstroke are all important matters when doing acrylic landscape paintings. The longer you work with acrylic, the easier you will pick up when a certain stroke is more useful.
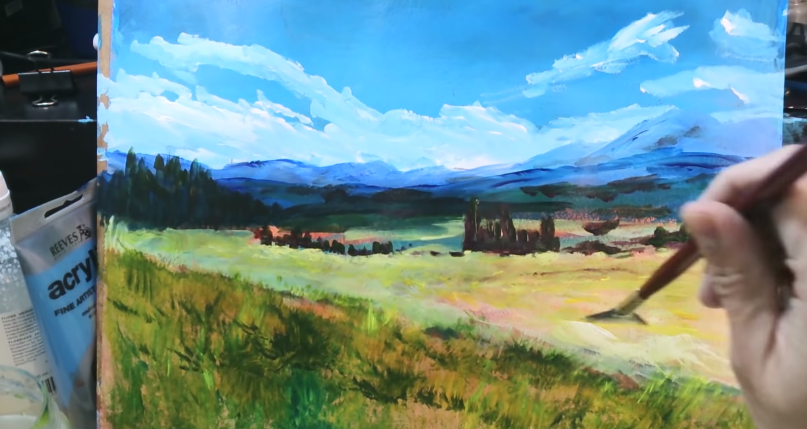
Next, for the grass, it will be good to add a green-yellow shade with preference going to the lighter color.
It’s best to use minimal water whenever possible, but water can be a good diluter, too.
If you noticed above, Jose added a small lake and accompanying river to the work. We will try to keep those as elements in our painting as he adds a light grass effect.
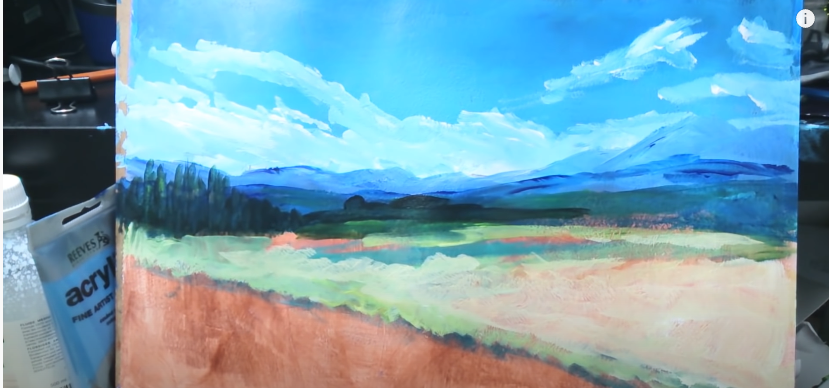
That’s OK if the red bleeds through for now. As a general rule of thumb, in acrylic painting, you use cold colors to distant things and warm colors to make elements feel nearer.
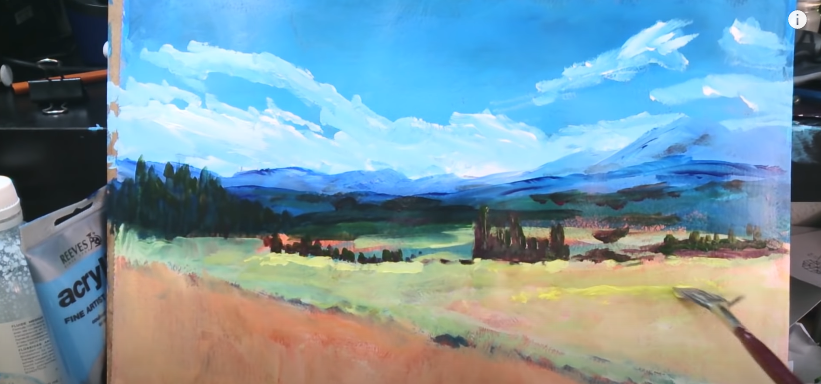
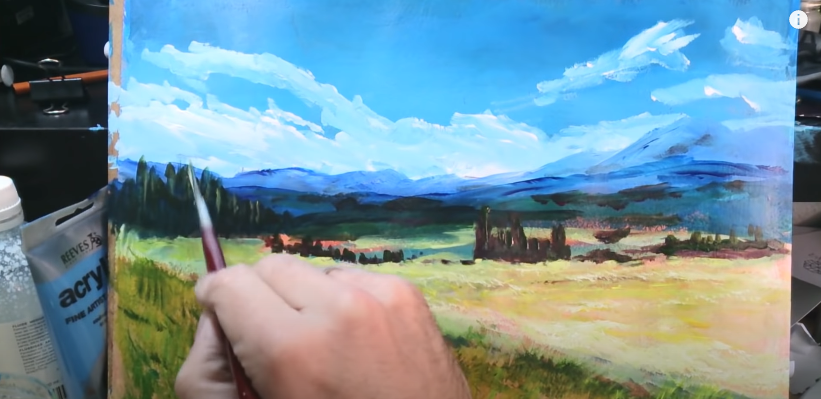
Step 5: Add Finer Details
With your entire landscape sky and greenery covered, Jose will begin to add the more detailed aspects of his painting with a smaller flat brush.
Acrylic paint dries very fast so never add more than what you can cover in 10-12 minutes.
For the finer details, we will start with a dark green, which, when added to our red-like green will become browner in appearance. Notice the angle at which he holds his brush.
All of these finer details are to be made by the preference of the artists, therefore, your painting does not have to follow his every move.
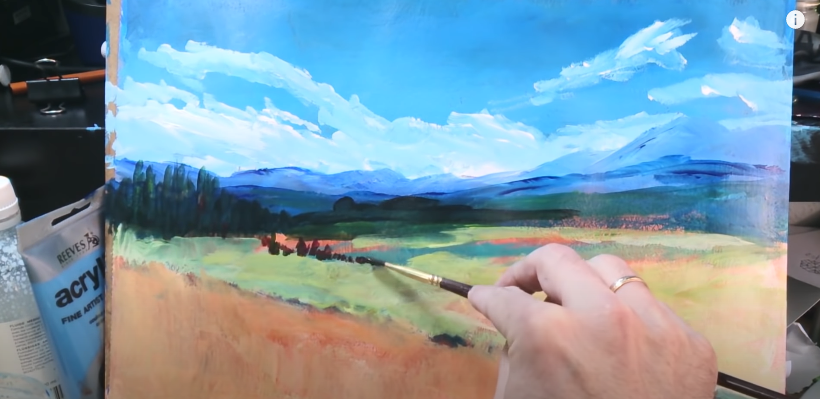
Notice how fewer details actually become more as more of your setting evolves?
You begin to see aspects of details you didn’t first see. This is called a minimal approach to acrylic landscape paintings.
Finally, we’ll add texture to the acrylic painting. In acrylic landscape paintings, fan brushes like seen below, are excellent tools to add texture such as a grassy look.
For this, we will use a mixture of lighter colors and hopefully fill the grass front with lights and dark highlights. Remember to use a mixture of strokes as you do this to make the landscape feel more alive and full of character.
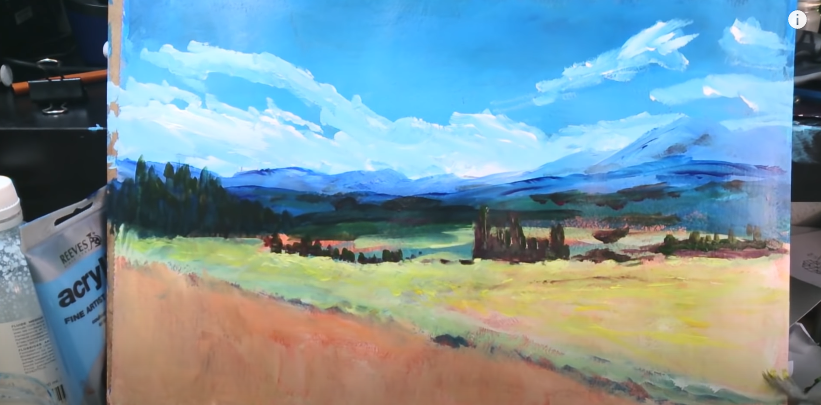
When we start to work the nearer side of the creek is when you’ll really be able to sense the texture. We will also, hence, use a darker shade of green-yellow.
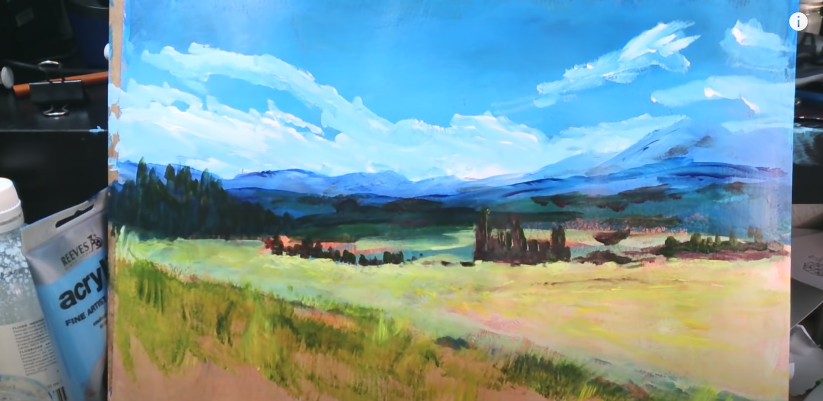
Step 6: Add Accenting
Following the foreground, we will finally add some highlights and accenting colors to our piece. You achieve this with a lighter color almost as if to throw in some variation in the landscape. Here, he is adding lighter colored trees to the foreground patch of trees. This will give your piece more character.
Your final piece:
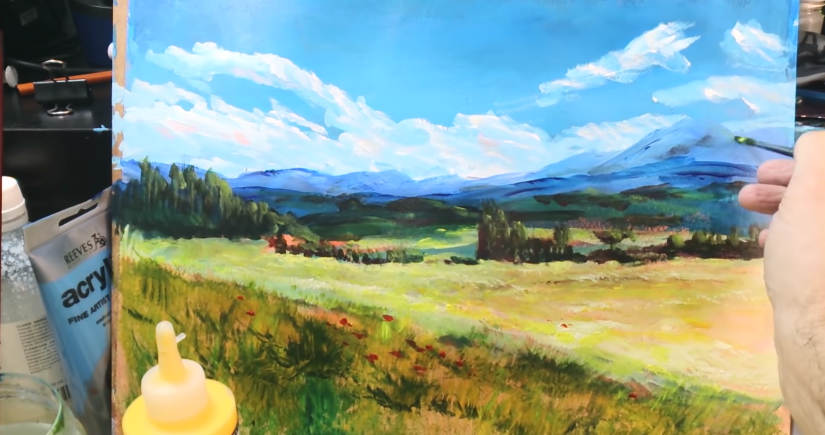
Acrylic Painting Landscapes Tutorial
We hope you’ve enjoyed today’s lesson done by Jose on Acrylic landscapes. If you have any questions on your project, leave a comment and we’ll try to answer before your paint dries 🙂
In addition, we’d love to see your work. Take a picture and post it in the comments below. Let’s share art !
Couldn’t see the river or creek. Need to go into more detail. This is very confusing sorry
This is a topic which is close to my heart… Thank you! Exactly where are your contact details though?