Many are starting to wonder the difficulty of how to paint shoes. The answer? It’s not so hard!
Anyone can paint shoes whether it’s leather or how to paint canvas shoes. Many of the same techniques are used.
Our favorite part about DIY shoes paint is that it is so much fun. We could spend hours making these tutorials, but thankfully, we have help! Mira Byler was one of our inspirations as we got started on our journey. If you would like to peek through her Etsy shop, we highly recommend it!
So, are you ready to learn how to paint shoes? Let’s start with the basics. . .

Supplies needed to paint on canvas shoes
- Vans (any canvas shoe will work)
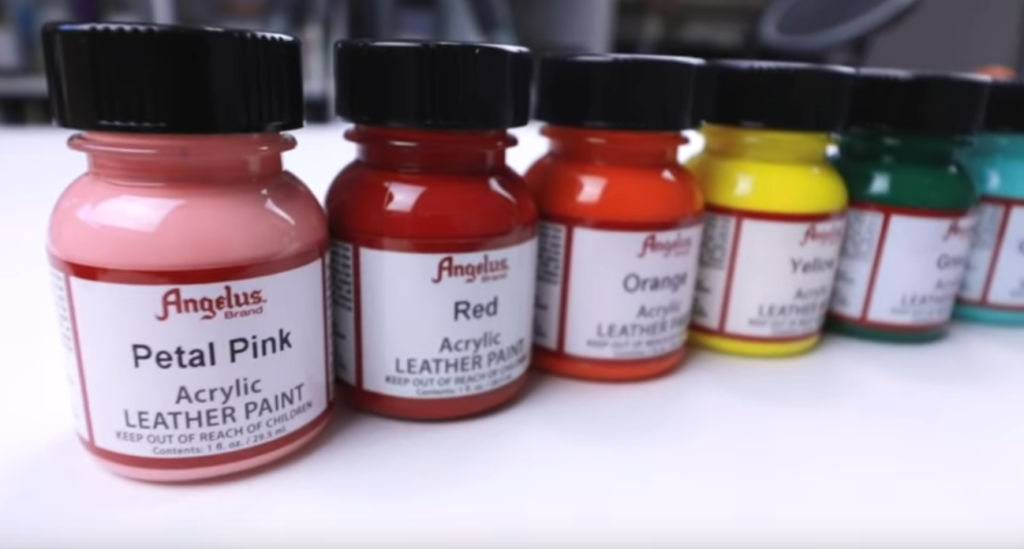
- Acrylic paint (Angelus is our favorite)
- Glass cup
- Cotton balls
- Soft brushes
- Finisher
- Fabric or cloth to apply finisher
- Water
- Design ideas
- Rubber gloves
- Acetone
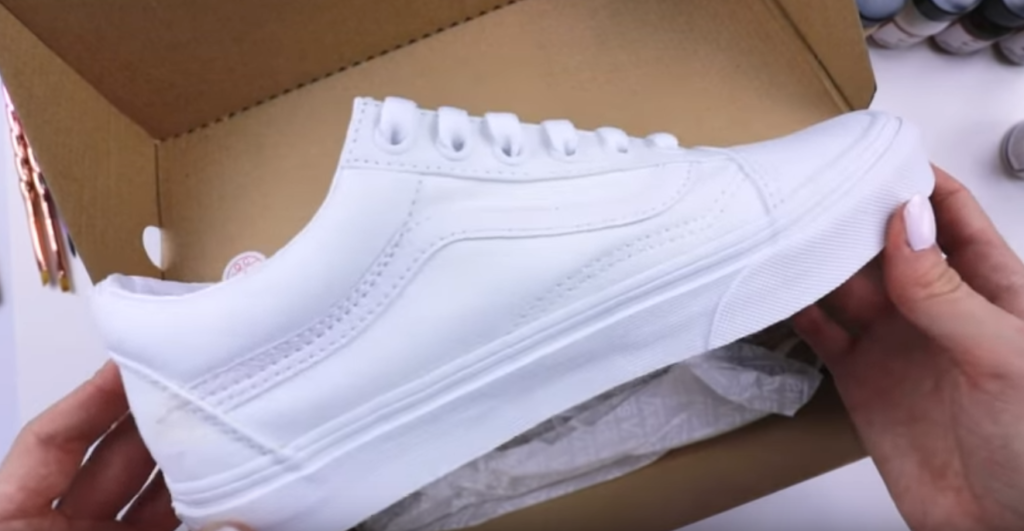
What kind of paint to use on shoes
We get this question a lot. When it comes to what paint to use on shoes, there are dozens of options. Whether you want our favorite (Angelus Acrylic paint) or glitter paint for shoes, the options are out there. One thing is sure, acrylic paint works the best.
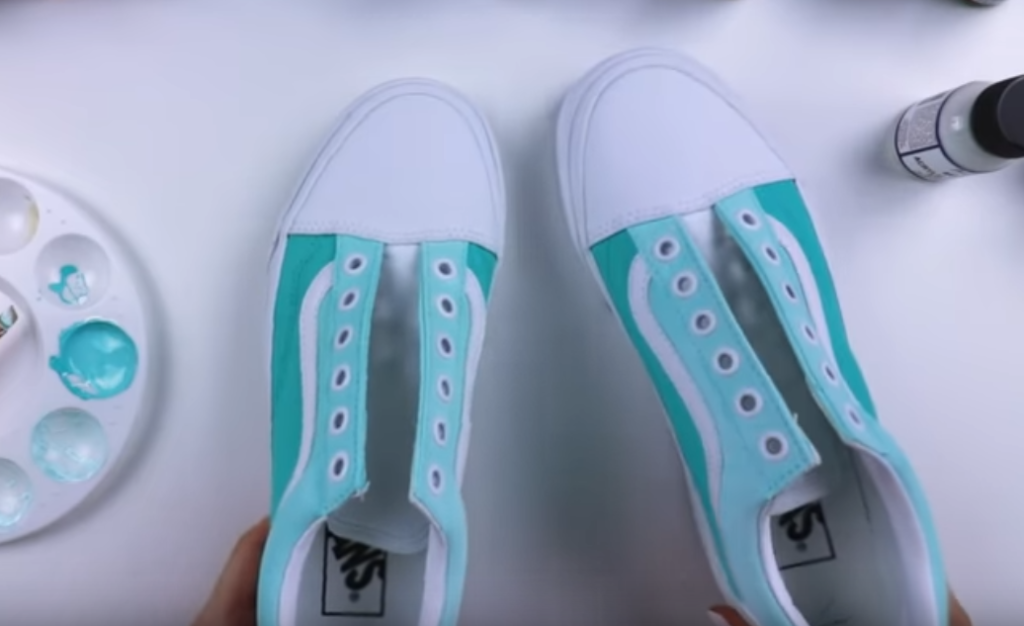
Step 1: Take the laces out
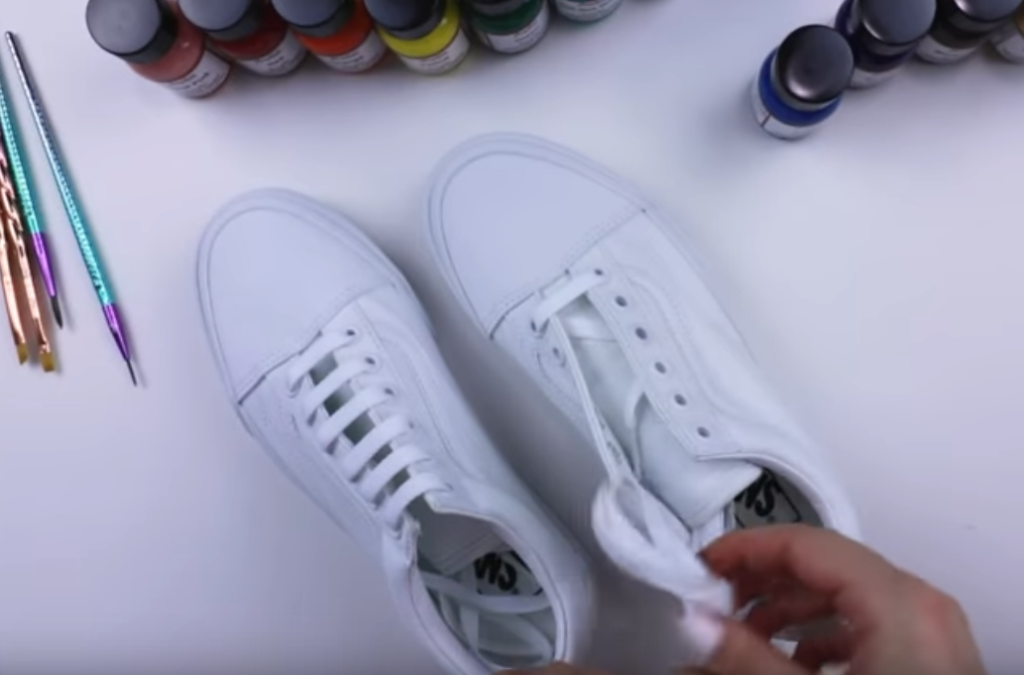
Taking the laces out of the shoes is precautionary. With a steady hand, you can skip this step but there is no worse feeling than lightly getting your laces with paint. To be safe, we advise taking the laces out at the beginning.
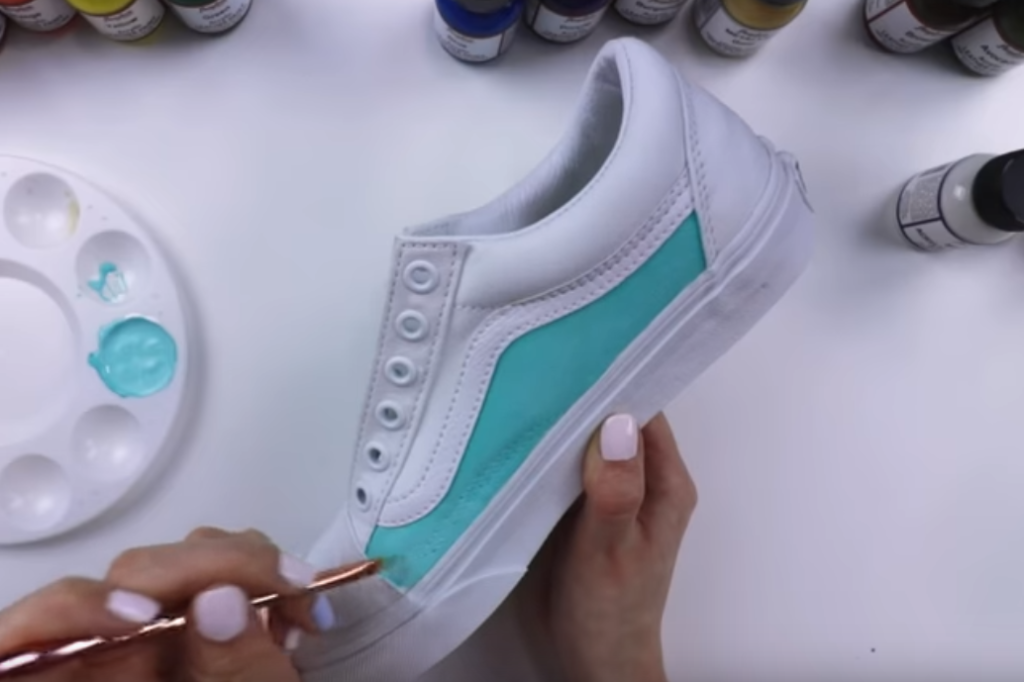
Step 2. Prepare the base color
On every pair of shoes you paint, you’ll want to start with the lightest color paint and work darker. This is particularly true for your base color.
Most people will start with a white base layer. After that, you might mix colors to come up with a unique base like seen below.
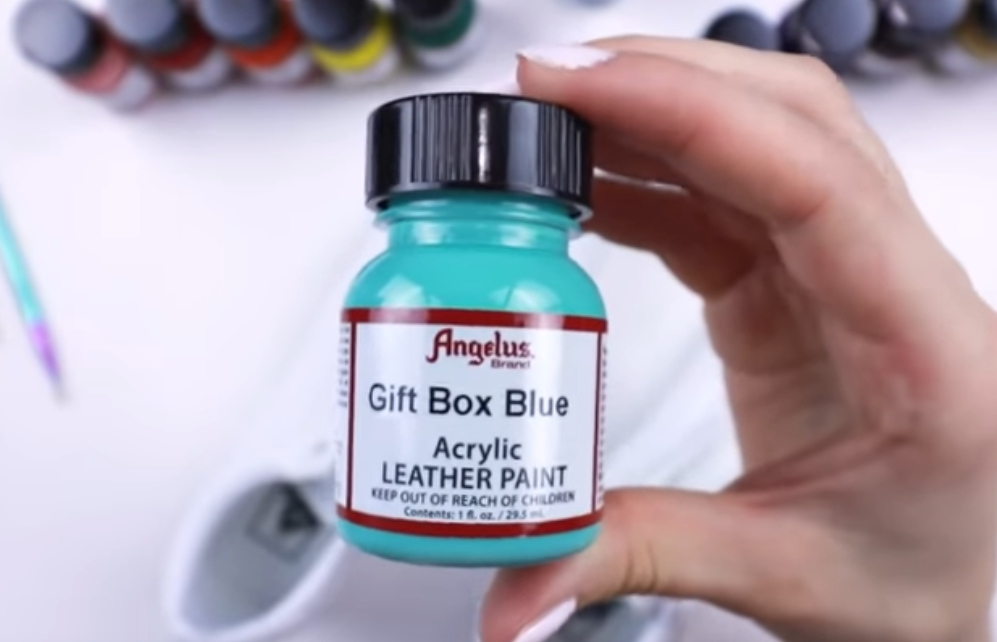
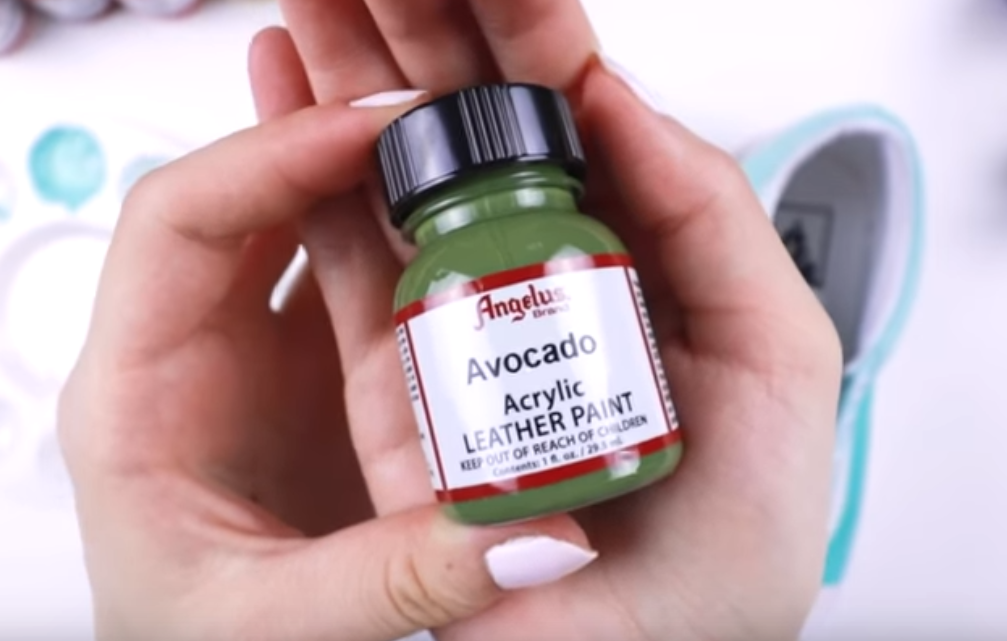
Note: As you can see, Mira is using Angelus acrylic leather paint. This isn’t a mistake. Acrylic leather paint can work on multiple surfaces including canvas. Angelus is the best paint for shoes.
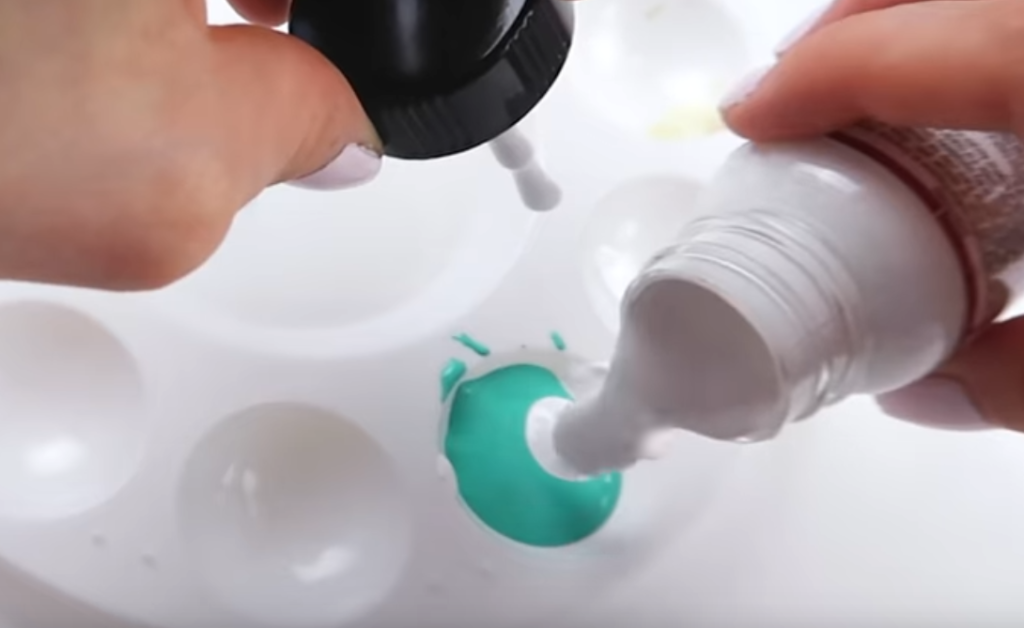
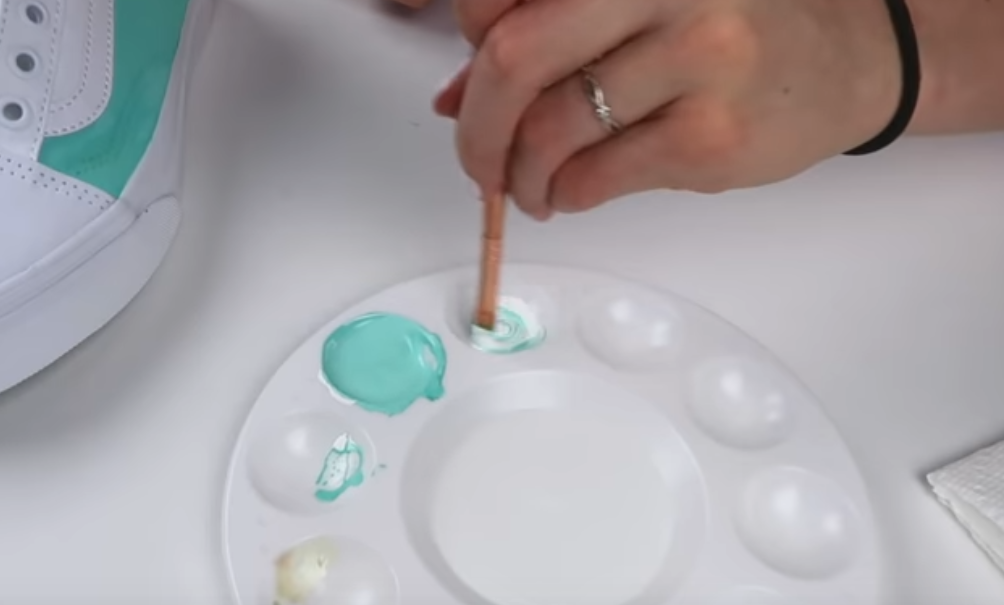
Notice here, Mira is mixing for a lighter teal color.
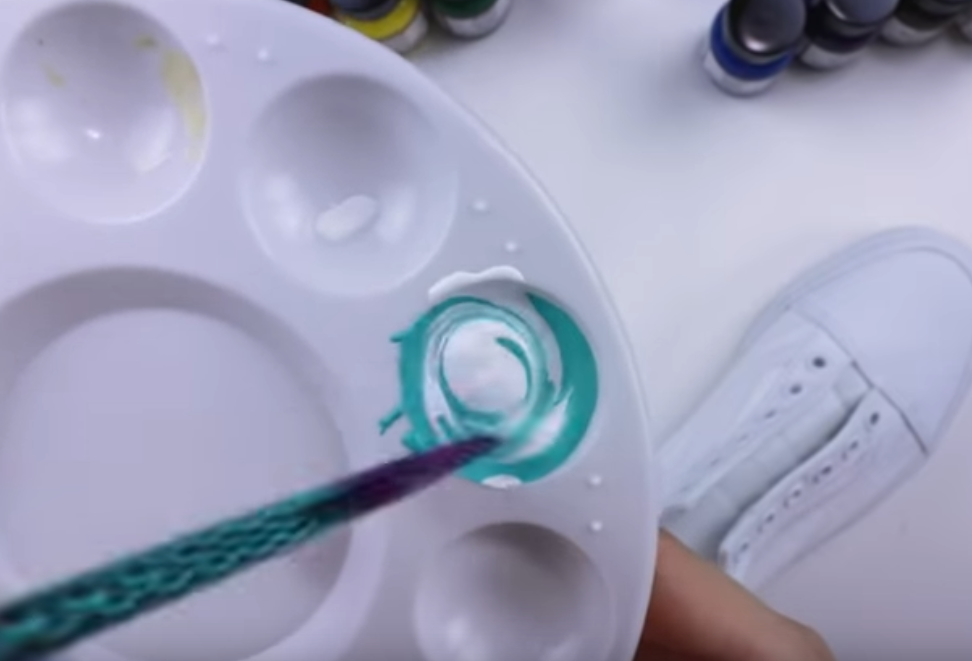
Mix until you find a desirable result.
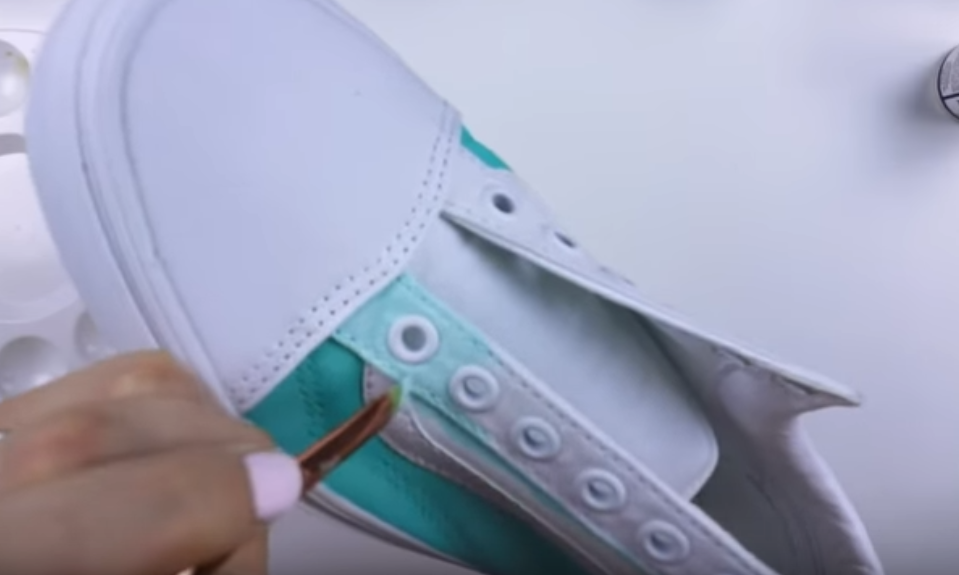
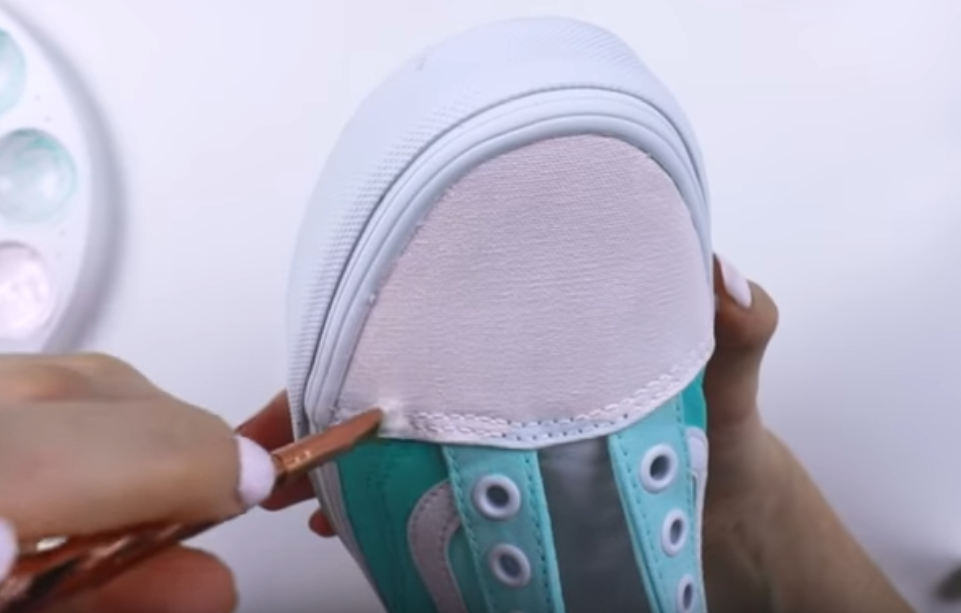
Step 3: Paint the edges with your prepared base color
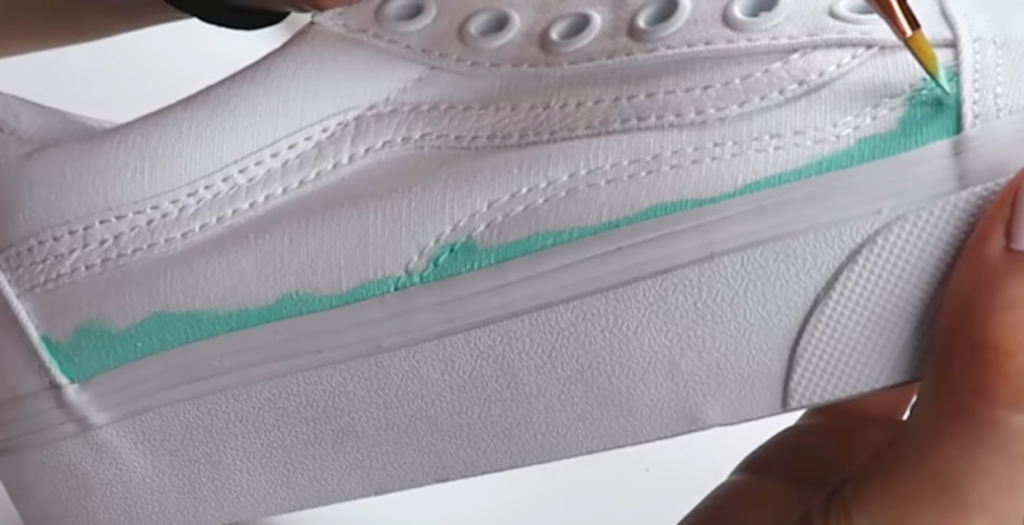
We like to start with the edges. This makes it very elementary in that your goal is to stay within the lines when you paint. Don’t bleed one section into another unless it is intended.
Step 4: Fill the sections
Once the edges of your section are outlined, you can fill it in fully.
Then, Mira makes a lighter mint color by adding more white. Adding tones to your design adds depth and taste.
As we’ve said before. We like to work in ‘sections’. Notice Mira starts to use a different tone when painting around the shoelace holes.
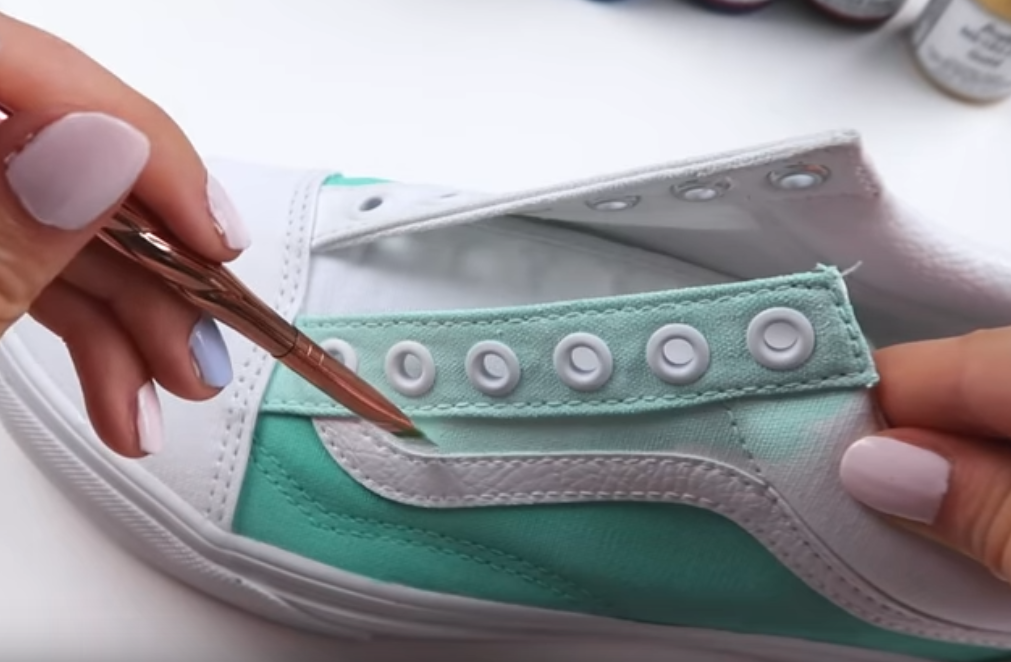
As you practice more, you’ll become more comfortable with various brushes in different situations. We suggest working with your brushes on paper before committing to your canvas shoes.
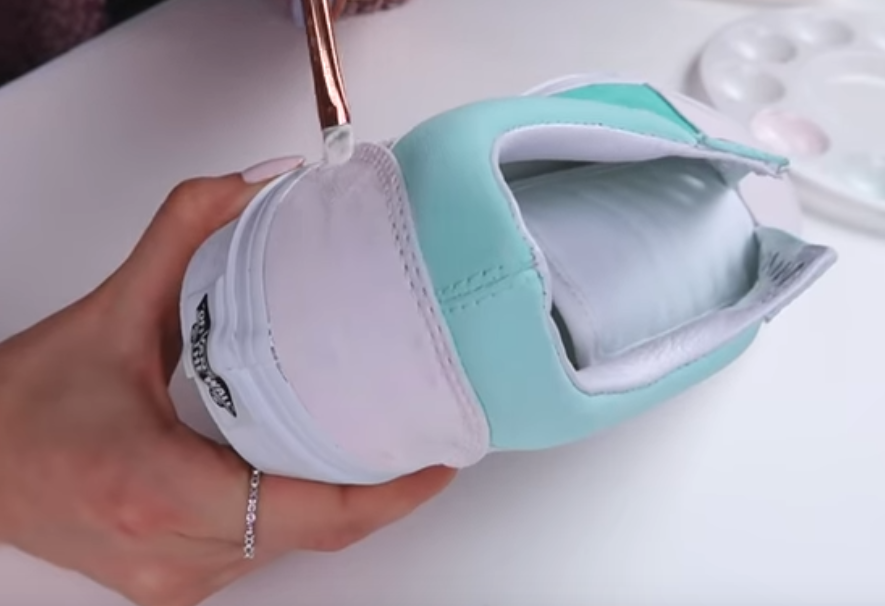
Mira makes a very very light pink for the heel and toes of her Vans as she wants to add some creative flavor.

Start with your white base layer (again). Then, you can coat it in the off-white/light pink color you blended.
Step 5: Wait to Dry
As a rule of thumb, before moving to more intricate details of your design, let the base layer dry for at least 24 hours.
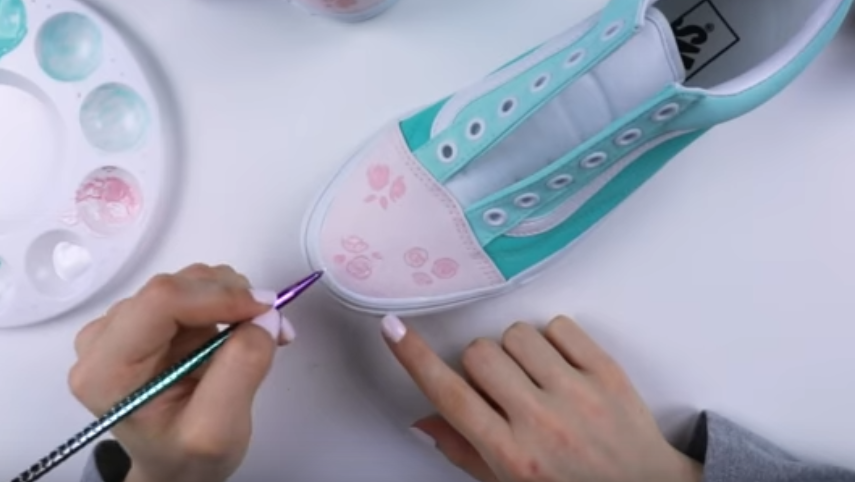
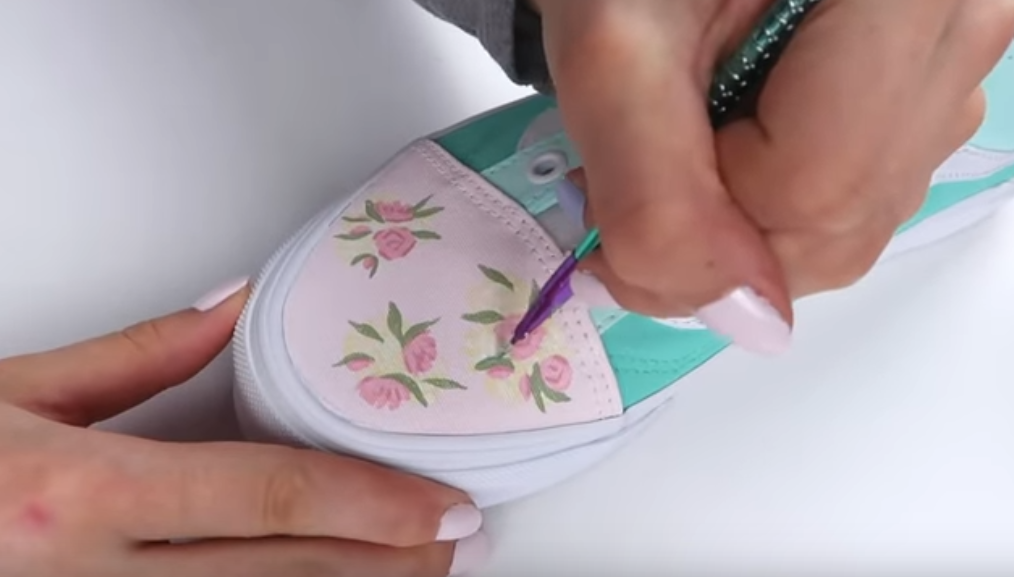
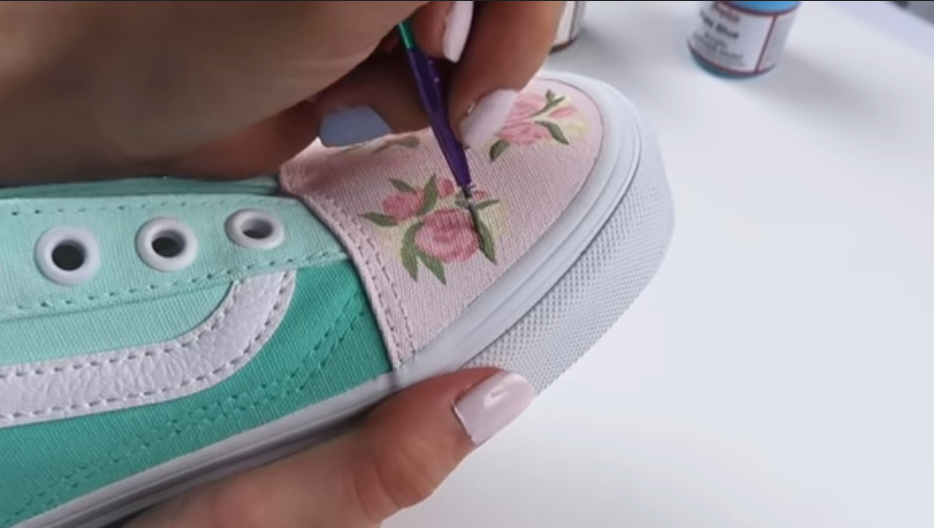
Step 6: Add the details
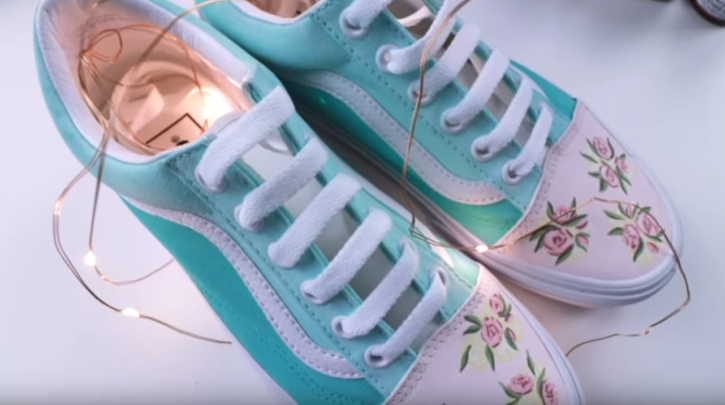
Now, comes the fun part. Here is your chance to get crazy or stylish. Do whatever makes your creative side happy.
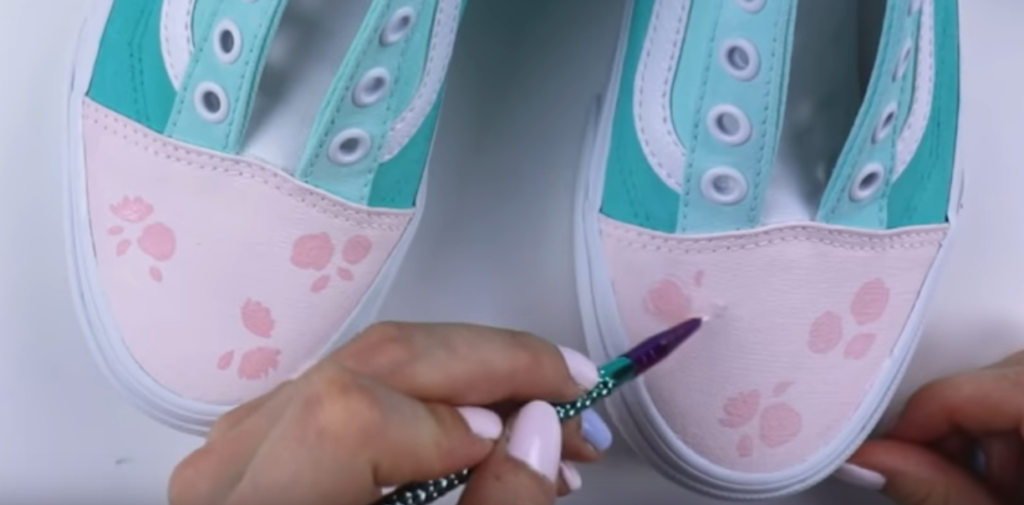
Don’t forget to add details that (probably) no one will notice like highlights and shadows.

Then, Mira adds some white-ish yellow flowers to taste.
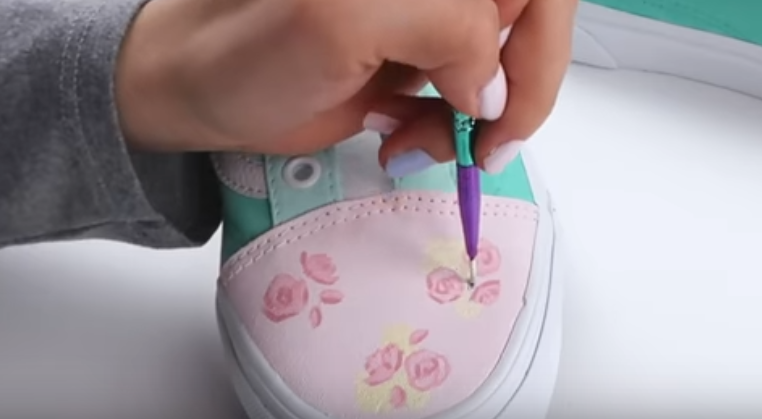
Of course you can design whatever you like. If you are looking for ideas, don’t hesitate to check our acrylic painting ideas 🙂
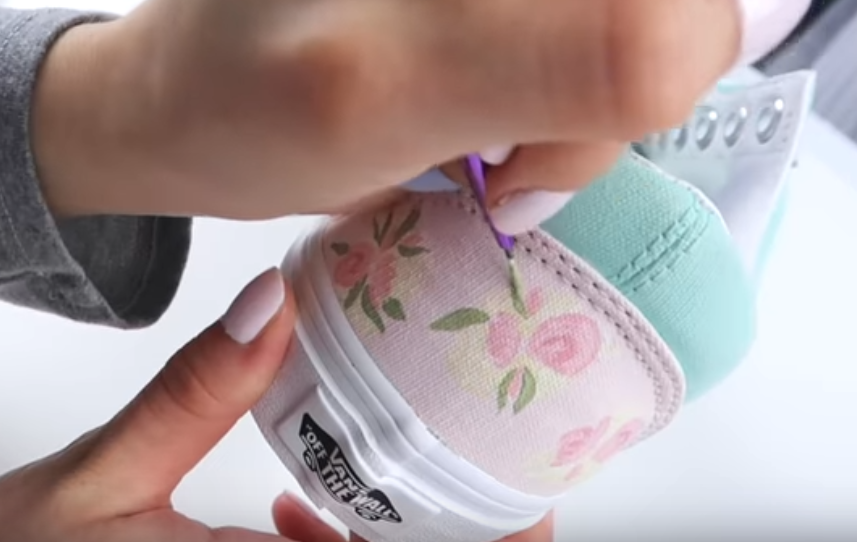
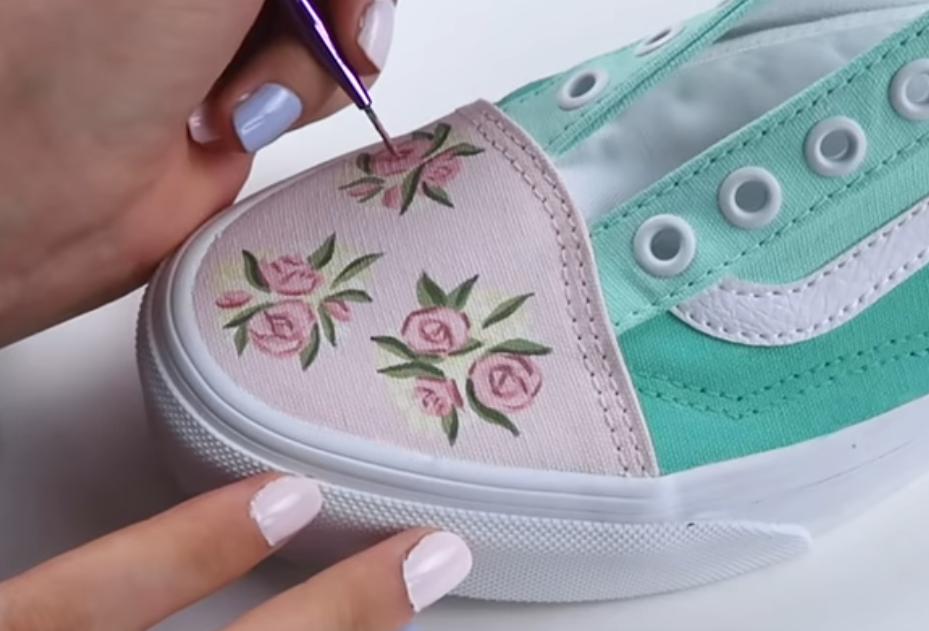
Shadows within the leaves with a darker tone of green.
Feel free to subscribe to our newsletter for occasional great deals on art supplies. If you enjoyed this tutorial, you will definitely like painting on leather shoes.
what kind of finisher and how do i use it?
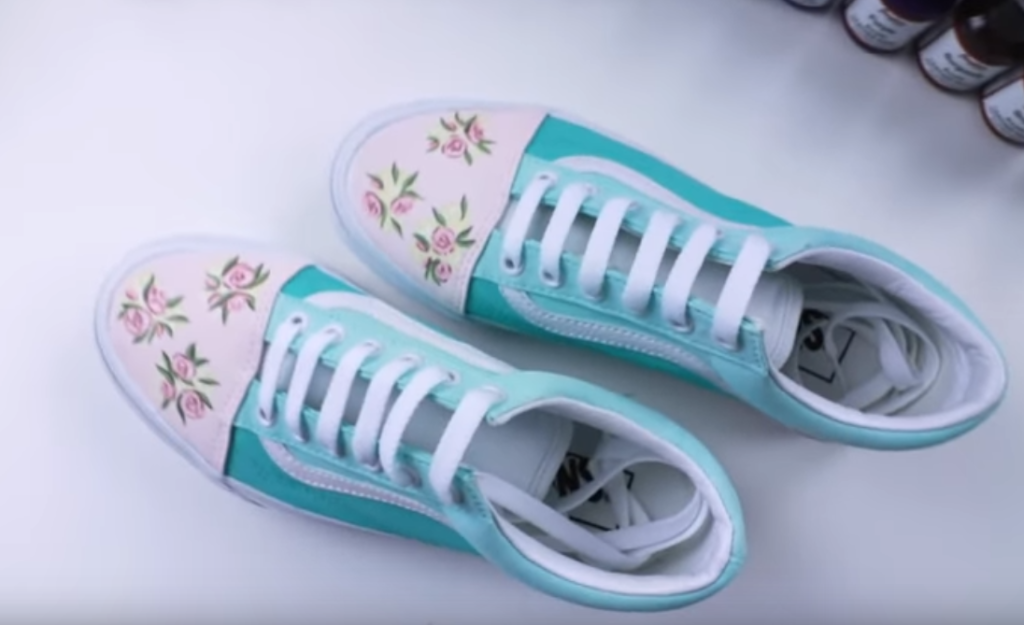
Though sharp and detailed, the graceful alternative of colours provides them a cheerful
tone, making them fit for folks of all ages.